- Regular price
- $112.00
- Sale price
- $112.00
- Unit price
- per
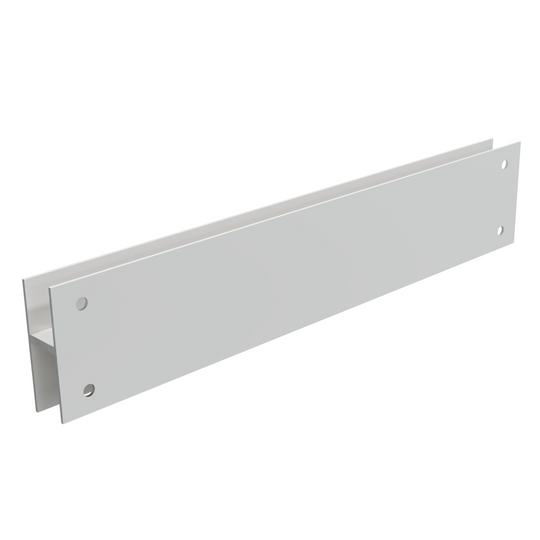
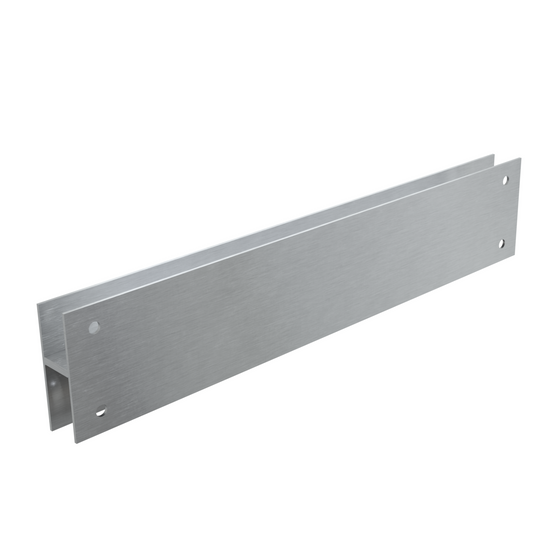
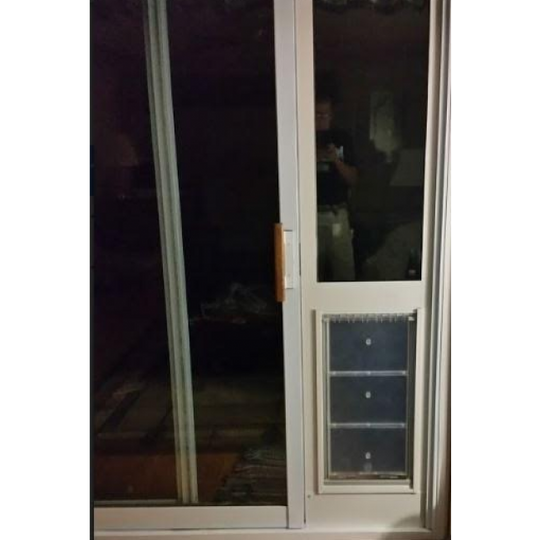
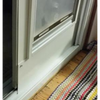
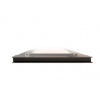
- Thermo Panel Adapters for Monorail Doors provide a perfect fit and polished look
- Adapts to ¾" wide by ¾" high monorail sliding glass door tracks
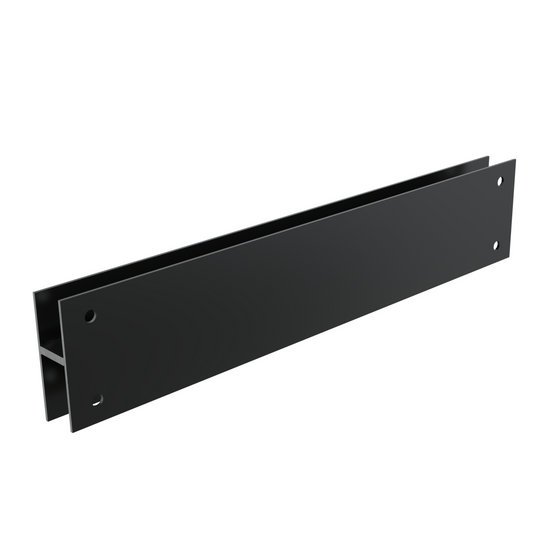
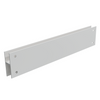
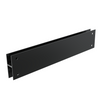
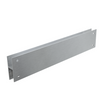
- Available in white, bronze, or satin to match your door's aesthetic
- Designed for Endura aluminum panels
- Easy installation for a secure and stable pet door experience
- Comes with stainless steel hardware (1 1/8" screws and acorn nuts)
 Perfect Fit in Monorail Tracks
 Polished Look
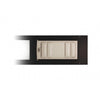
 Easy Installation
Product Details
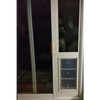
- Monorail door compatibility: Thermo Panel Adapters specifically designed for Endura Flap and Sureflap Thermo Panels used with monorail sliding glass doors
- Enhance your pet door's stability: Provides a secure channel for your panel to fit in, ensuring a stable and reliable pet door setup
- Match your home's style: Choose from white, bronze, or satin finishes to seamlessly integrate with your sliding glass door
- Easy to install: Adapter comes with pre-punched guide holes for a smooth installation process; finish holes will need to be drilled through the panel
- Improve your pet door's performance: Thermo Panel Adapters help keep your pet door in place, minimizing wind and drafts from entering your home
- Enjoy peace of mind: The adapter's return and lifetime warranty policy make it a worry-free purchase
- Designed for Endura aluminum panels: not intended for use with Endura vinyl panels or other pet door models and manufacturers
- Secure and semi-permanent: While Thermo Panel can be installed tool-free, the monorail adapter requires a few screws for installation, easily removed at the end of your lease
- Ideal for warmer climates: Thermo Panel Adapters work best in milder temperatures, as condensation and wind can get through the adapter during colder months
- Ensure the right fit: Order the adapter size that corresponds to your pet door flap size for a perfect match
-
Keep your pet happy and safe: Provide your furry friend with a secure and easy-to-use pet door designed for monorail sliding glass doors
Additional Notes
- The adapter comes with guide holes pre-punched, but you will have to drill the finish holes through the panel.
- Stainless steel screws and cap nuts are provided with purchase. Make sure the screws purchased will have a little extra length in order for a rounded cap nut to fit over them.
- Fits Endura aluminum panels, not intended for use with Endura vinyl panels.
- This part is only for Endura or SureFlap panels. It will not be compatible with any other model or manufacturer.
Size Chart
| Endura Flap Size | Flap Dimension |
|---|---|
| Small | 6" w x 11" h |
| Medium | 8" w x 15" h |
| Large | 10" w x 19" h |
| Extra Large | 12" w x 23" h |
Installation Instructions
 Difficulty
Moderate
 Steps
07
 Time Required
0.5 Hours
 Sections
01
 Flags
01
Parts
- Monorail Adapter
- 2 10-24 x 1-1/8" Stainless steel screws
- 2 10-24 Stainless Steel Acorn nuts
Tools
- Drill with a 3/8“ bit for drilling metal
- Clamps
Compatible Panel Models: Endura Flap Aluminum Thermo Panels. The monorail adapter installation requires two people. Please review the installation instructions included with your panel to familiarize yourself with the installation guidelines.
Please Note: Before drilling into your panel, test fit which side of the monorail adapter (1” or 1-1/2") depth will fit over your track the best without any gaps.
Step 1 Test Fit the Adapter

- Test fit the adapter on your monorail track to determine which side fits your monorail height the best (1” or 1-1/2").
- Mark the side for the panel so you can properly drill the holes.
Step 2 Lay the Panel Flat

- Lay the panel on a table with the Height Adjustment Locks facing up.
- Clamp it to the table.
Step 3 Drill the Holes

- With the end of the panel hanging slightly off the table, drill the holes straight through the panel and adapter pieces (all the way until the drill bit punches through the other side of the adapter).
Step 4 Apply Weatherstripping

- Remove the panel from the table. Remove the clamps, holding the adapter to the panel.
- Apply weather stripping to sides of panel (included upon the purchase of your panel).
Step 5 Position In Slider Track

- Have one person hold the panel in place over the monorail track, leaving at least ¼” of space between the bottom of the panel and the track.
- The second person needs to slide the adapter pieces together onto the inside and outside face of the patio panel so that they overlap and sandwich the panel and track.
Step 6 Screw Into Place

- With the second person still holding the panel, gently lower it until it is resting on the adapter pieces, and the adapter channel is resting on the sliding door track.
- Put the two screws through the holes and screw the cap nuts on (or nuts with protective caps).
Step 7 Release Height Adjustment Mechanism

- Gently release the Height Adjustment Locks so that the height adjustment piece rises into the upper track.
- Tighten the Height Adjustment Locks to affix the top tension adjustment piece in place.
- Assure that the panel is stable and fixed in place. Then have the second person release the panel.
Videos
Monorail Installation Video
FAQ
|
Does this work for every brand of pet door insert? No, this monorail adaptor is made specifically for Endura Flap and Sureflap Thermo Panels. It does not work for Endura vinyl panels. |
|
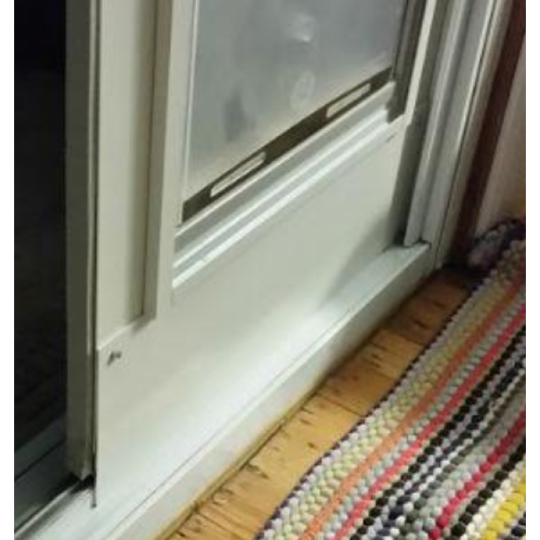
How do I tell if my sliding glass door has a monorail track or not? If your track is elevated above floor level, it is a monorail track. The Thermo Panel is made to slip into recessive sliding door tracks with the sides of the track holding the panel in place. The adapter mimics recessive sliding door tracks so that the Thermo Panel will stand upright. |
|
Will the adapter make it harder to install my pet door? It depends on how handy you are. The adapter must be installed into the bottom of the Thermo Panel, which requires drilling and other tools. You can review the installation instructions to see if it matches your skill level. If not, we recommend getting in contact with a professional. |
|
Will the monorail track adapter break my apartment’s security deposit? While the Thermo Panel can normally be installed tools-free, the monorail adapter requires you to screw the panel into your sliding door way. It is only a few screws that can easily be removed at the end of your lease. It is best that you check in with your landlord to see what is allowed in your apartment or not, but as is, the monorail adapter requires your Thermo Panel to be semi-permanently installed. |
|
How do I know what size to get? You need to order the size that corresponds to the size of your pet door flap. For example, if you ordered a small Endura Flap pet door, you should order the small monorail adapter. |
Warranty
Endura Flap products have a lifetime warranty against defects in materials and workmanship under standard regular use. Endura Flap® Pet Doors Are 100% Designed, Engineered, and Manufactured in the USA. They are handmade for quality work in San Luis Obispo, California.
We will replace any defective parts at no cost to you. Defective parts may include incorrectly sized flaps, bent or dented frames, or improperly fitted parts.
Customers living outside of the continental United States are responsible for shipping costs as well as duties and taxes (if applicable) for any replacement parts or services covered under the warranty policy regardless of the replacement part or service's original cost.
Important Note:
Endura Flap® pet doors have a lifetime warranty for normal wear & tear and manufacturing defects (dog-chewing is not covered).
Damage caused by not using the product as intended, improper installation, and chewing is not covered under this warranty.Endura Flap Pet Doors used in a commercial application like a Kennel or Boarding facility have a three year warranty.
Customer Reviews

| Endura Flap Size | Flap Dimension |
|---|---|
| Small | 6" w x 11" h |
| Medium | 8" w x 15" h |
| Large | 10" w x 19" h |
| Extra Large | 12" w x 23" h |
Installation Instructions
 Difficulty
Moderate
 Steps
07
 Time Required
0.5 Hours
 Sections
01
 Flags
01
Parts
- Monorail Adapter
- 2 10-24 x 1-1/8" Stainless steel screws
- 2 10-24 Stainless Steel Acorn nuts
Tools
- Drill with a 3/8“ bit for drilling metal
- Clamps
Compatible Panel Models: Endura Flap Aluminum Thermo Panels. The monorail adapter installation requires two people. Please review the installation instructions included with your panel to familiarize yourself with the installation guidelines.
Please Note: Before drilling into your panel, test fit which side of the monorail adapter (1” or 1-1/2") depth will fit over your track the best without any gaps.
Step 1 Test Fit the Adapter

- Test fit the adapter on your monorail track to determine which side fits your monorail height the best (1” or 1-1/2").
- Mark the side for the panel so you can properly drill the holes.
Step 2 Lay the Panel Flat

- Lay the panel on a table with the Height Adjustment Locks facing up.
- Clamp it to the table.
Step 3 Drill the Holes

- With the end of the panel hanging slightly off the table, drill the holes straight through the panel and adapter pieces (all the way until the drill bit punches through the other side of the adapter).
Step 4 Apply Weatherstripping

- Remove the panel from the table. Remove the clamps, holding the adapter to the panel.
- Apply weather stripping to sides of panel (included upon the purchase of your panel).
Step 5 Position In Slider Track

- Have one person hold the panel in place over the monorail track, leaving at least ¼” of space between the bottom of the panel and the track.
- The second person needs to slide the adapter pieces together onto the inside and outside face of the patio panel so that they overlap and sandwich the panel and track.
Step 6 Screw Into Place

- With the second person still holding the panel, gently lower it until it is resting on the adapter pieces, and the adapter channel is resting on the sliding door track.
- Put the two screws through the holes and screw the cap nuts on (or nuts with protective caps).
Step 7 Release Height Adjustment Mechanism

- Gently release the Height Adjustment Locks so that the height adjustment piece rises into the upper track.
- Tighten the Height Adjustment Locks to affix the top tension adjustment piece in place.
- Assure that the panel is stable and fixed in place. Then have the second person release the panel.
Videos
Monorail Installation Video
FAQ
|
Does this work for every brand of pet door insert? No, this monorail adaptor is made specifically for Endura Flap and Sureflap Thermo Panels. It does not work for Endura vinyl panels. |
|
How do I tell if my sliding glass door has a monorail track or not? If your track is elevated above floor level, it is a monorail track. The Thermo Panel is made to slip into recessive sliding door tracks with the sides of the track holding the panel in place. The adapter mimics recessive sliding door tracks so that the Thermo Panel will stand upright. |
|
Will the adapter make it harder to install my pet door? It depends on how handy you are. The adapter must be installed into the bottom of the Thermo Panel, which requires drilling and other tools. You can review the installation instructions to see if it matches your skill level. If not, we recommend getting in contact with a professional. |
|
Will the monorail track adapter break my apartment’s security deposit? While the Thermo Panel can normally be installed tools-free, the monorail adapter requires you to screw the panel into your sliding door way. It is only a few screws that can easily be removed at the end of your lease. It is best that you check in with your landlord to see what is allowed in your apartment or not, but as is, the monorail adapter requires your Thermo Panel to be semi-permanently installed. |
|
How do I know what size to get? You need to order the size that corresponds to the size of your pet door flap. For example, if you ordered a small Endura Flap pet door, you should order the small monorail adapter. |
Warranty
Endura Flap products have a lifetime warranty against defects in materials and workmanship under standard regular use. Endura Flap® Pet Doors Are 100% Designed, Engineered, and Manufactured in the USA. They are handmade for quality work in San Luis Obispo, California.
We will replace any defective parts at no cost to you. Defective parts may include incorrectly sized flaps, bent or dented frames, or improperly fitted parts.
Customers living outside of the continental United States are responsible for shipping costs as well as duties and taxes (if applicable) for any replacement parts or services covered under the warranty policy regardless of the replacement part or service's original cost.
Important Note:
Endura Flap® pet doors have a lifetime warranty for normal wear & tear and manufacturing defects (dog-chewing is not covered).
Damage caused by not using the product as intended, improper installation, and chewing is not covered under this warranty.Endura Flap Pet Doors used in a commercial application like a Kennel or Boarding facility have a three year warranty.
Customer Reviews
 Lifetime Warranty
 Fast Shipping
 100% Secure Checkout
 Easy Returns






 Product Details